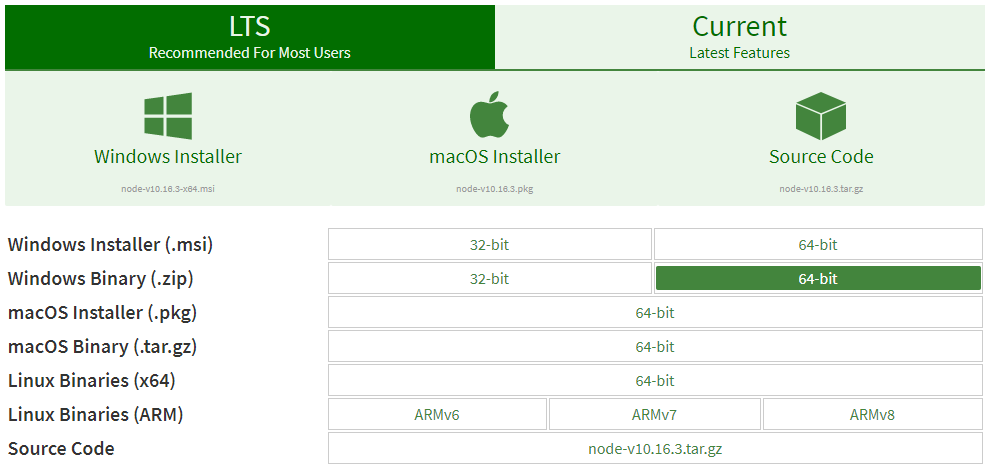
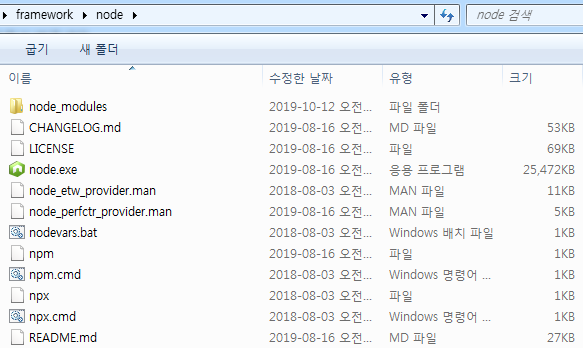
1) node.js
https://nodejs.org/en/download/
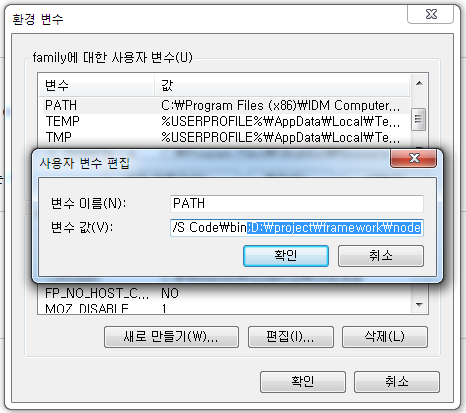
파일 - 작업영역에 폴더 추가 한 후
터미널에서 해당 작업폴더에 접근한다.
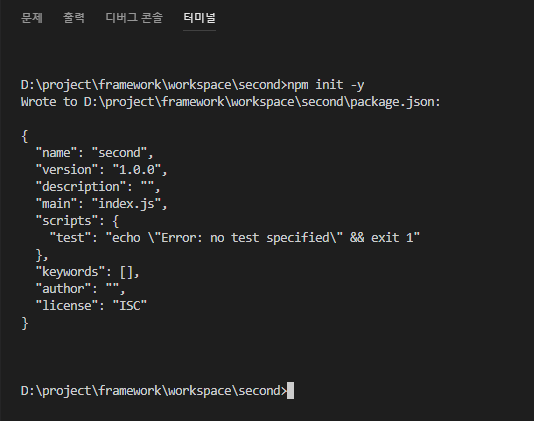
해당 폴더에서 app.js라는 이름의 새 파일을 작성하고
테스트 소스코드를 작성한다.
const http = require('http');

const hostname = '127.0.0.1';
const port = 3000;

const server = http.createServer((req, res) => {
  res.statusCode = 200;
  res.setHeader('Content-Type', 'text/plain');
  res.end('Hello Second\n');
});

server.listen(port, hostname, () => {
  console.log(`Server running at http://${hostname}:${port}/`);
});
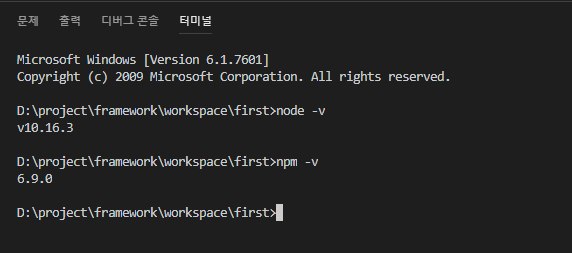
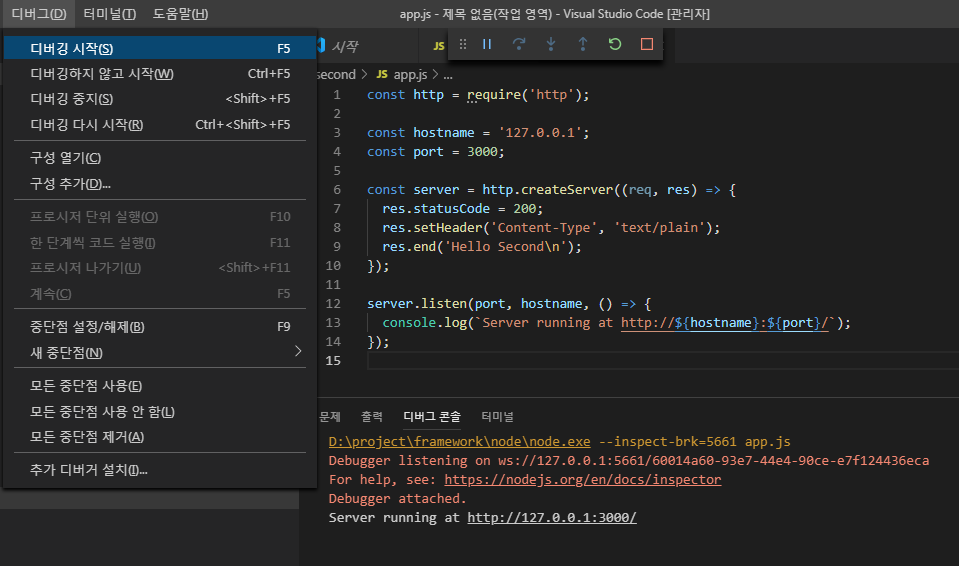
디버그 - 디버깅 시작 하면
디버그 콘솔에 아래와 같이 console.log의 내용이 찍히고,
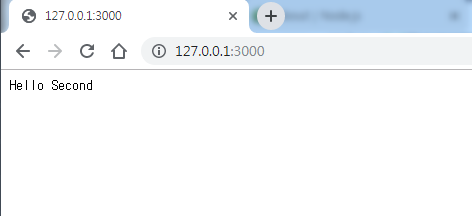
브라우저로 접근했을때 res.end 의 내용이 출력되면 정상.
2) mysql / sql mapper
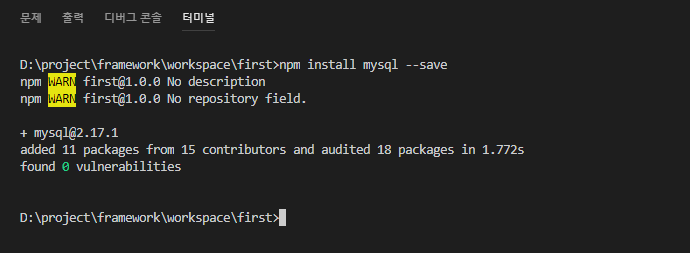
먼저 mysql 을 설치.
업무용으로 사용하는 것이 전제되었기 때문에 sql 관리는 필수이다.
다행히도 mybatis의 node.js 버전을 찾았다.

설치 후 mapper xml 작성.
테이블 생성 및 데이터는 모두가 알고 있을 것이므로 생략.
<?xml version="1.0" encoding="UTF-8"?>
<!DOCTYPE mapper PUBLIC "-//mybatis.org//DTD Mapper 3.0//EN" "http://mybatis.org/dtd/mybatis-3-mapper.dtd">
<mapper namespace="com_emp">
  <select id="SEL001">
    SELECT *
    FROM COM_EMP_INFO
    WHERE EMP_NO = #{EMP_NO}
  </select>
</mapper>
app.js로 콘솔에 json 데이터 출력
const mysql = require('mysql');  //My-sql
const mybatisMapper = require('mybatis-mapper');  //mybatis

const connection = mysql.createConnection({  //create connection
    host: '127.0.0.1',
    port: '3306',
    user: 'study',
    database: 'study',
    password : 'study1!'
});

//mapper load
mybatisMapper.createMapper([ './sql/com/com_emp.xml' ]);

//param
var param = {
    EMP_NO : '10000002'
}

//create query
var format = {language: 'sql', indent: '  '};
var query = mybatisMapper.getStatement('com_emp', 'SEL001', param, format);
//getStatement([map namespace], [sql id], [param], format);

console.log(query);  //qury print

connection.connect();
connection.query(query, function (error, results, fields) {
    if (error) {
        console.log(error);
    }
    console.log(results); //result print
});
connection.end();
'무작정 따라하기 > JS 스터디' 카테고리의 다른 글
| (4) 개발환경 설정(Visual Studio Code) (0) | 2019.10.12 |
|---|---|
| (3) 개발환경 선택하기 (0) | 2019.10.11 |
| (2) 언어의 선택에 대한 고민 (0) | 2019.10.11 |
| (1) 시작에 앞서... (0) | 2019.10.11 |